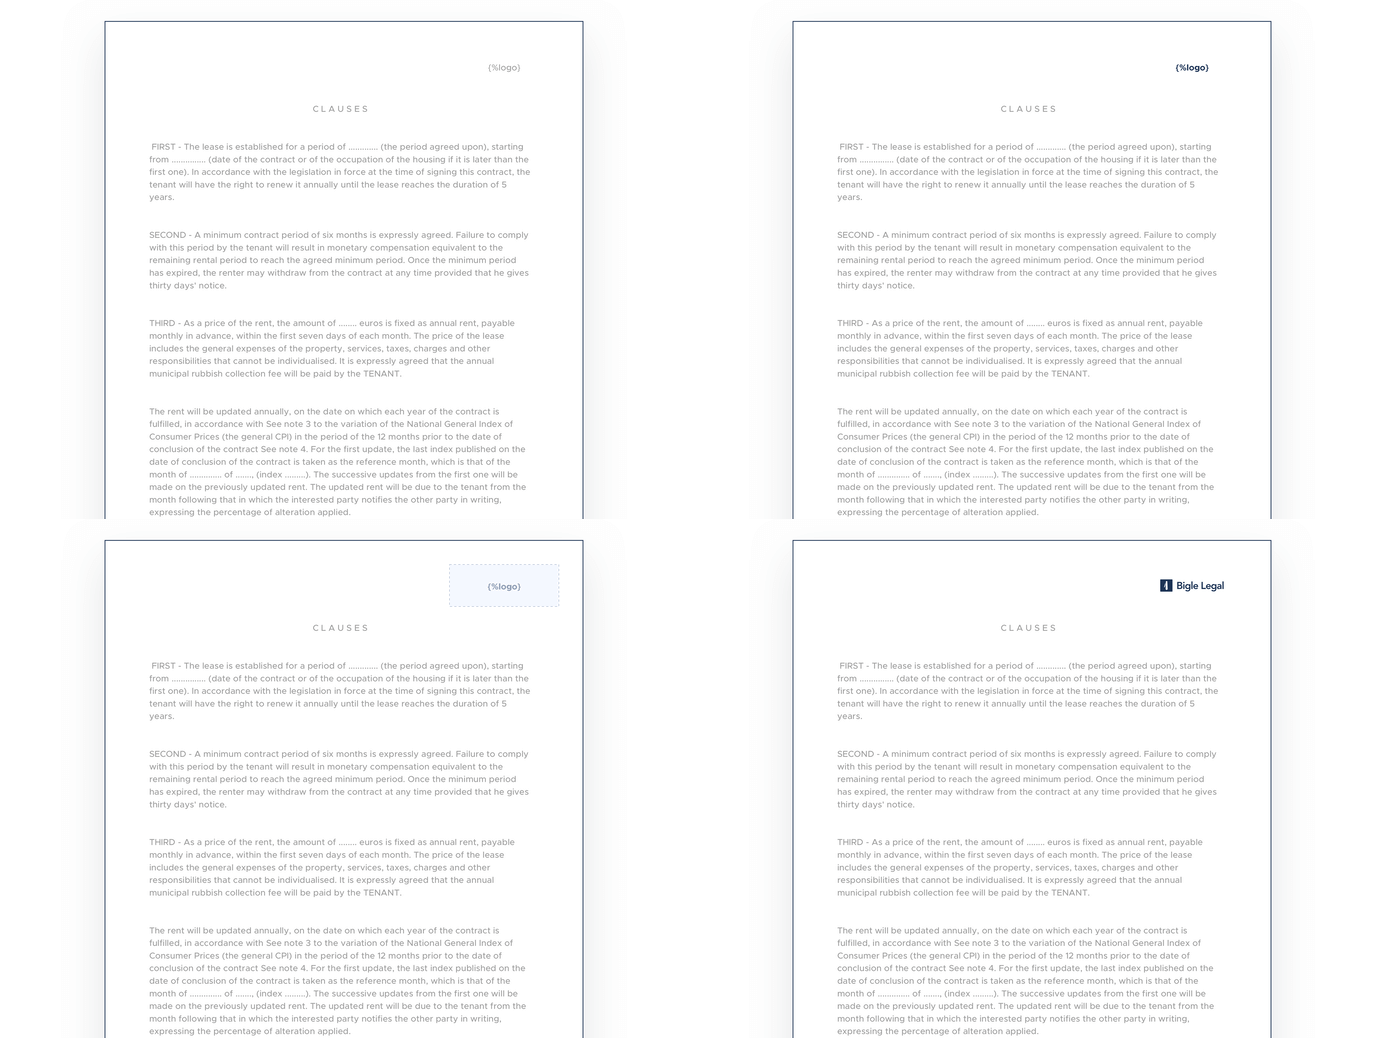
Upload an image in the form and it will be inserted automatically in the place indicated in the document.
The difference between simple tags and image tags lies in the fact that tags used to insert images in the document must always include the symbol "%" before the word.
For example, if the word used in the field tag is "logo," the tag would be as follows in the template:
{%logo}
Thanks to this composition, the software identifies this field as an image and generates a space in the document for it.

How to indicate the maximum dimensions of the image
When working with images, it is common to limit their maximum size to improve the appearance of the document. To achieve this, you need to add certain data to the image tag:
{%logo | maxSize:width:height}
- "width" will be the maximum width of the image.
- "height" will be the maximum height of the image.
To indicate the maximum width and height you need to specify it in dots. You can calculate the dots equivalent to a specific number of inches or centimeters using the following formulas:
size in inches * 96 dpi = dots indicated in the tag
- Dots per inch (dpi) are used in printing and refer to the number of ink dots printed in one inch of paper. It is a measure of printing resolution and affects the quality and clarity of the printed image. By default, the platform scales images to 96 dpi.
- Since we can calculate the points based on inches and each centimeter is equivalent to 0.393701 inches, if we multiply 0.393701 by 96, we get the number by which we should multiply the cm to determine the points to be indicated in the tag. This number is 37.8.
size in cm * 37.8 = dots indicated in the tag
For example, applying the formula, 3 cm of width would be 113.4 dots and 2 cm of height would be 75.6 dots.
We should place them in the tag as follows, first adding the maximum width and then the maximum height, and separating decimals with periods (.) and not commas (,):
{%logo | maxSize:113.4:75.6}
Note that these are maximum measurements, so if the image measures less than 3 cm in width, its width will not be modified. However, if it measures 5 cm in width, it will be resized to 3 cm. The same applies to its height.
In any case, the measurement of the shorter side will be adjusted proportionally to the longer side to prevent image distortion.
Example uploading the image of a logo that originally measured 5 cm in width:

As a reference, remember that a DIN A4 document measures 21 x 29.7 cm or 8.27 x 11.69 inches.
Recommendation to prevent errors related to the total size:
We recommend not uploading images that weigh more than necessary to avoid making the document too heavy. Using appropriately sized images will contribute to a smoother and more efficient experience when using the platform.
To understand how this type of field is constructed, follow this link ⇢