Electronic signature allows documents to be sent and signed in a secure and legally binding manner. In this article, you will find all the information regarding the two types of e-signatures offered by Bigle Legal (biometric and one-click), as well as the steps to follow to successfully carry out a signature process.
In the case of biometric electronic signature, you can define the position of the signatures in the document by using tags. This way, the signatures will be automatically placed in their corresponding positions without the need of manual adjustment.
How to create the signature autopositioning tag
The chosen tag must be a word that has not been used in the text, followed by a trailing slash and a number. For example:
[tag_1]
- Text that has not been used in other tags and is written in lower case or camelCase, e.g., ‘signatureBuyer’. As a recommendation, we suggest you use words that you have certainly not used either as tags or as text in the document. For example: AAA, BBB, and so on, so that you can be sure that they have not been used.
- Low bar (_) and chosen number in the desired order.
If you want to position the label elsewhere in the text, simply use the same label, replicated in the desired location.
The tag is unique to each signer. If there is more than one signer, you will need to create a tag for each of them.
If you wish to add another signatory, you must use another name for the label, as well as another number. For example:
BBB_2
Additionally, please note that this type of tag will not only be visible in the document template but will also be reflected in the final document, once it is signed:
If you want to use this type of tag for a multiple section, you must add _{$index} to the end of the tag.

If you wish to hide the tag, you can select it and change the color to white from the editor. This way, even though it is present in the final version of the document, it won't be visible.

Where to position the tag
You should position the tag in the template document where you want the signature to be automatically placed. You can repeat the same tag at different locations so that the signature is displayed at each of those locations (the signer will need to sign as many times as you repeat the tag in the document).
Regarding the insertion of the _{$index} tag, it should be inserted as follows:

How to link the tag to its signer
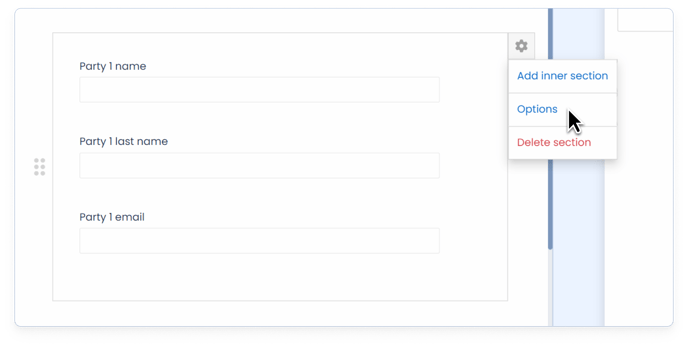
The next step to position the signatures is to link the tag with its signer. This action is performed from the options menu in the signer section during form creation.
To do this, it will be very helpful to read this article on signer auto-completion, where you will find all the necessary information to correctly link all the fields in this section.
As you can see in the following image, you should link the tag by enabling the "Signer section" and "Self positioned signature" options and entering it in the last field, called "Signature tag."
- Select group: you must indicate the signatory number according to the order you have indicated in the template. For example, if you have indicated ‘AAA_1’ in the template, a ‘1’ must be filled in under select group.
- Name: You must link it to the short text field of the form in which the signatory's name is filled in
- Surname: It works exactly the same as ‘Name’, the only difference is that this field is optional and you can eventually leave it empty.
- Email: You must link it to the short text field that you have configured with the validation pattern ‘Email’, in which the email address is filled in.

It is important to keep in mind that this system works only with short text fields.